
Introduction to Homemade Red Velvet Cake
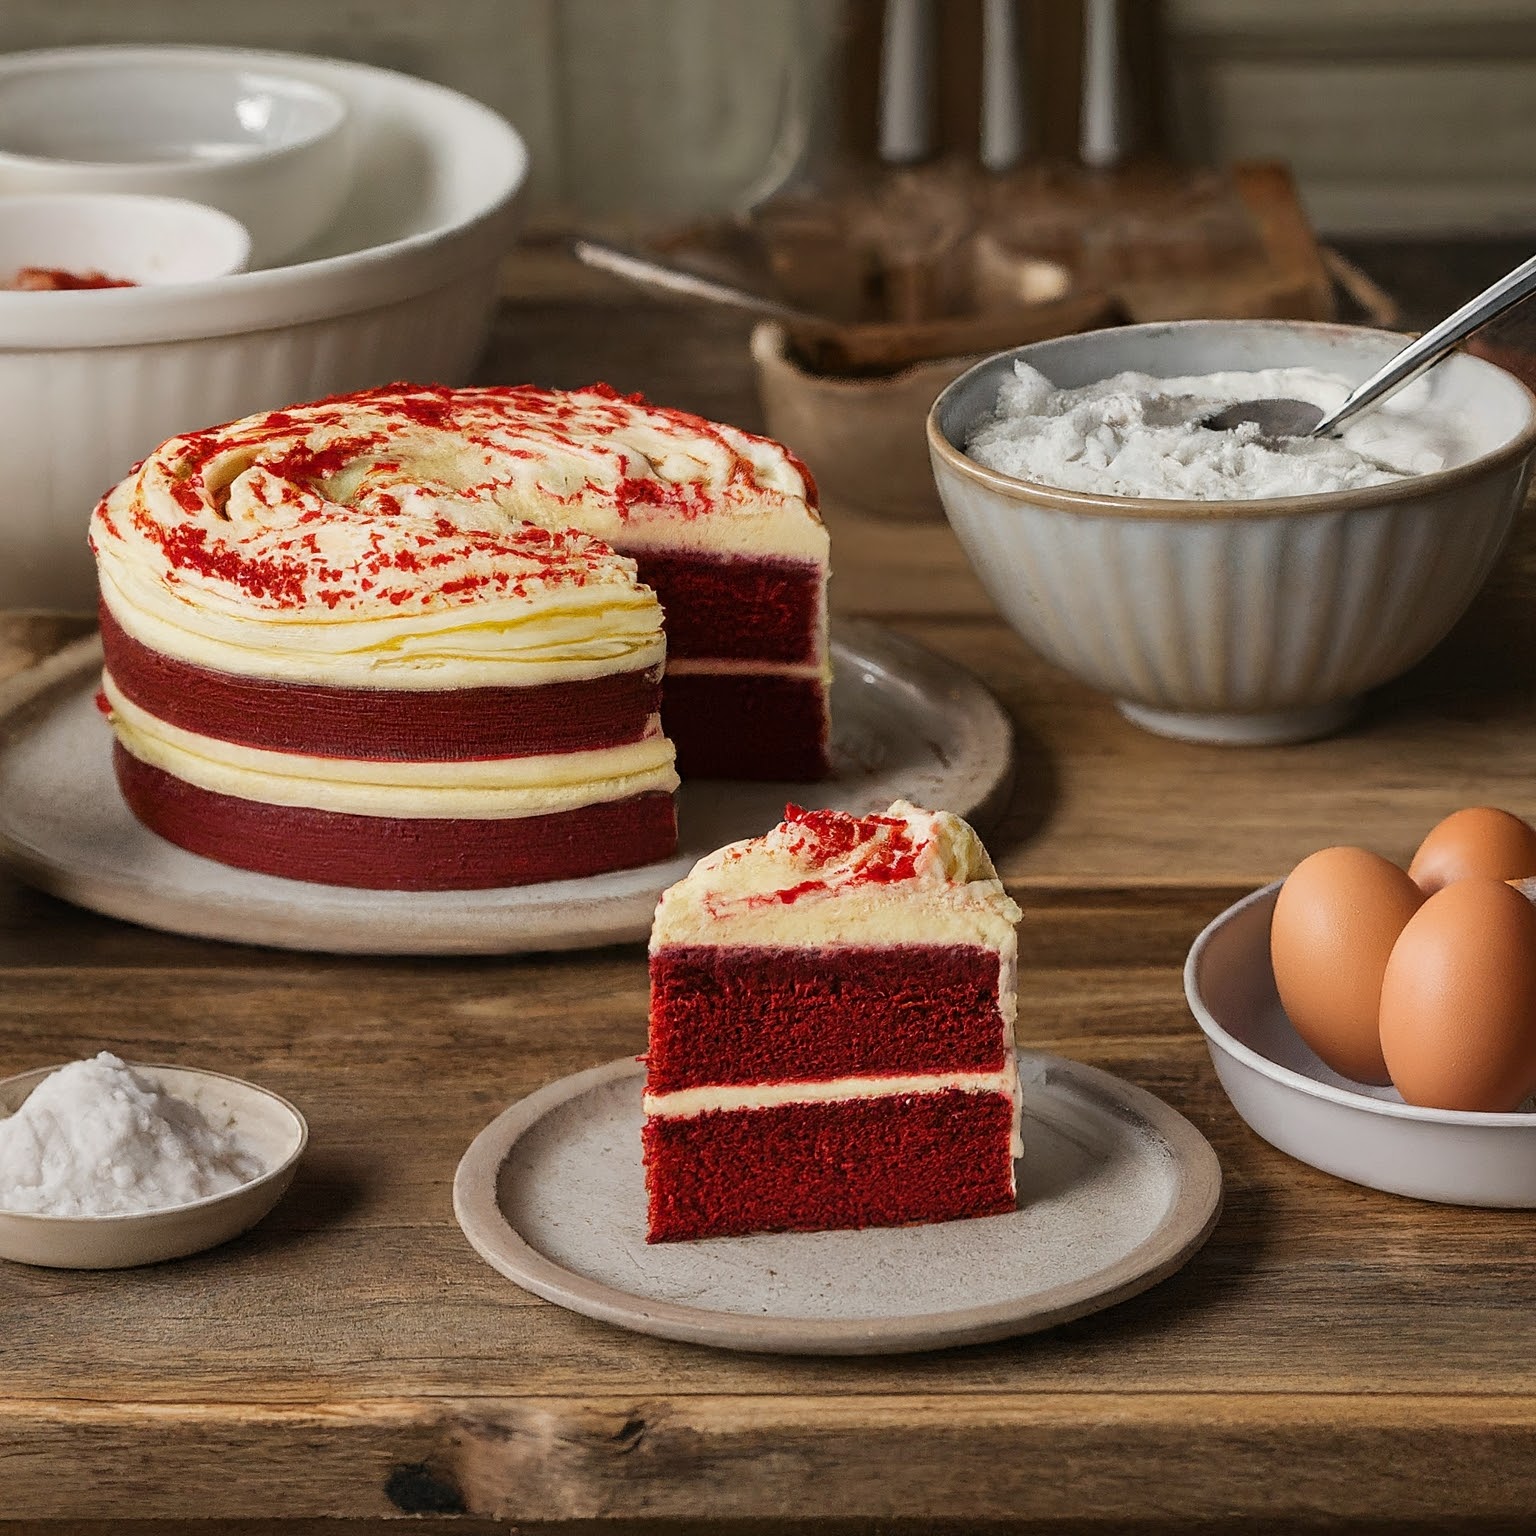
Red velvet cake stands out as a masterpiece of the culinary world, celebrated not only for its eye-catching bright red color contrasted with creamy white frosting but also for its unique taste. This cake transcends the ordinary, turning any occasion into a special celebration. Its origins trace back to the Victorian era, where it began its journey as an exclusive dessert served in upscale dining establishments. Over time, it has transformed into a cherished treat for both grand celebrations and simple everyday moments. The magic of homemade red velvet cake lies in its striking visual appeal and the exquisite blend of flavors that entice the palate—subtle cocoa, tangy buttermilk, and sweet vanilla come together in a symphony of taste that is both complex and comforting.
The Origin of Red Velvet Cake
The story of red velvet cake is a captivating chapter in the history of culinary arts, marking its transition from an elegant dessert found in high-end restaurants to a beloved staple in home baking. Originally, the cake’s signature red color emerged naturally from the reaction between cocoa powder and acidic ingredients like buttermilk and vinegar. This chemical interaction brought out a reddish hue in the cocoa, giving the cake its distinctive look. However, as the cake gained popularity, bakers began to enhance its color with food coloring to achieve a more vibrant red, making it the visually stunning dessert we know and love today.
Ingredients for Your Red Velvet Cake
The secret to a spectacular red velvet cake lies in the quality of its ingredients. Each component, from the cocoa powder to the buttermilk, plays a vital role in defining the cake’s flavor profile and texture. Selecting the right ingredients is the first step in creating a dessert that not only looks impressive but also tastes divine. High-quality cocoa powder ensures a rich, deep flavor, while the right kind of buttermilk adds a subtle tanginess that balances the sweetness of the cake. This section will guide you through the process of selecting the best ingredients to make your red velvet cake a memorable one.
Preparing Your Baking Tools
Success in baking begins long before the oven is preheated. Having the right tools on hand is crucial for turning your baking endeavors from good to great. This means more than just having the right ingredients; it involves being equipped with the proper baking pans, mixers, and utensils. The size and shape of your baking pans can affect the cake’s cooking time and final appearance, while a quality mixer ensures that your batter is mixed to perfection, creating the ideal texture for your cake. Preparing your baking tools in advance sets the stage for a smooth baking process, ensuring that your homemade red velvet cake is baked to perfection.
Step-by-Step Baking Process
Baking a homemade red velvet cake is a delightful project. Here’s how to do it:
- Prep Your Ingredients: Ensure all ingredients are at room temperature. You’ll need flour, unsweetened cocoa powder, baking soda, salt, butter, sugar, eggs, vanilla extract, buttermilk, vinegar, and red food coloring.
- Preheat Your Oven: Set your oven to 350°F (175°C). Grease and flour two 9-inch round cake pans or line them with parchment paper.
- Mix Dry Ingredients: In a bowl, whisk together the flour, cocoa powder, baking soda, and salt.
- Cream Butter and Sugar: In a separate large bowl, beat the butter and sugar until light and fluffy. Add eggs one at a time, fully incorporating each before adding the next. Mix in the vanilla extract.
- Add Color and Cocoa: Blend in the red food coloring until you achieve a deep red hue. Mix in the cocoa powder.
- Combine with Dry Ingredients: Alternately add the dry ingredients and buttermilk to the butter mixture, starting and ending with the dry ingredients. Mix until just combined.
- Add Vinegar and Baking Soda: Mix vinegar and baking soda in a small dish (it will fizz!), then fold this into the cake batter.
- Bake: Divide the batter evenly between the prepared pans. Bake for 25-30 minutes or until a toothpick inserted into the center comes out clean.
- Cool: Let the cakes cool in the pans for 10 minutes, then turn out onto wire racks to cool completely.

Recipe: Red Velvet Cake
Recipe Components:
2 1/2 cups all-purpose flour
1 1/2 cups white sugar
1 cup buttermilk
1 cup vegetable oil
2 large eggs
2 tablespoons cocoa powder
1 teaspoon baking soda
1 teaspoon white vinegar
1 teaspoon vanilla extract
1/2 teaspoon salt
2 tablespoons red food coloring
1 recipe Cream Cheese Frosting (1 package cream cheese, 1/2 cup butter softened, 2 cups powdered sugar, 1 teaspoon vanilla extract)
Preparation Steps:
Preheat oven to 350°F (175°C). Grease and flour two 9-inch round pans.
In a large bowl, mix flour, sugar, baking soda, cocoa powder, and salt. Add eggs, buttermilk, oil, food coloring, vinegar, and vanilla. Beat until smooth, about 2 minutes.
Pour batter into prepared pans. Bake for 30 to 35 minutes, or until a toothpick inserted into the center comes out clean.
Let cakes cool in pans for 10 minutes, then remove to wire racks to cool completely.
For the frosting, beat cream cheese, butter, powdered sugar, and vanilla until smooth and creamy. Frost the cooled cake.
Prep Time: 20 minutes | Cooking Time: 35 minutes | Total Time: 55 minutes
Kcal: 540 kcal | Servings: 12 servings
Tips for the Perfect Red Velvet Cake
- Ingredient Quality: Use high-quality cocoa powder and pure vanilla extract for the best flavor.
- Buttermilk Substitute: If you don’t have buttermilk, mix 1 cup of milk with 1 tablespoon of white vinegar or lemon juice.
- Avoid Overmixing: Mix the batter until just combined to keep the cake tender.
- Check for Doneness: Start checking the cake a few minutes before the suggested baking time to prevent overbaking.
- Cool Completely: Ensure the cakes are completely cool before frosting to prevent the frosting from melting.
Frosting Options: Cream Cheese and Alternatives
- Classic Cream Cheese Frosting: Beat together cream cheese, butter, powdered sugar, and vanilla extract until smooth and fluffy.
- Buttercream Frosting: For a lighter option, try vanilla or chocolate buttercream.
- Mascarpone Frosting: Mix mascarpone cheese with powdered sugar and vanilla for a rich, creamy topping.
- Vegan Frosting: Use vegan butter and cream cheese substitutes for a dairy-free version.
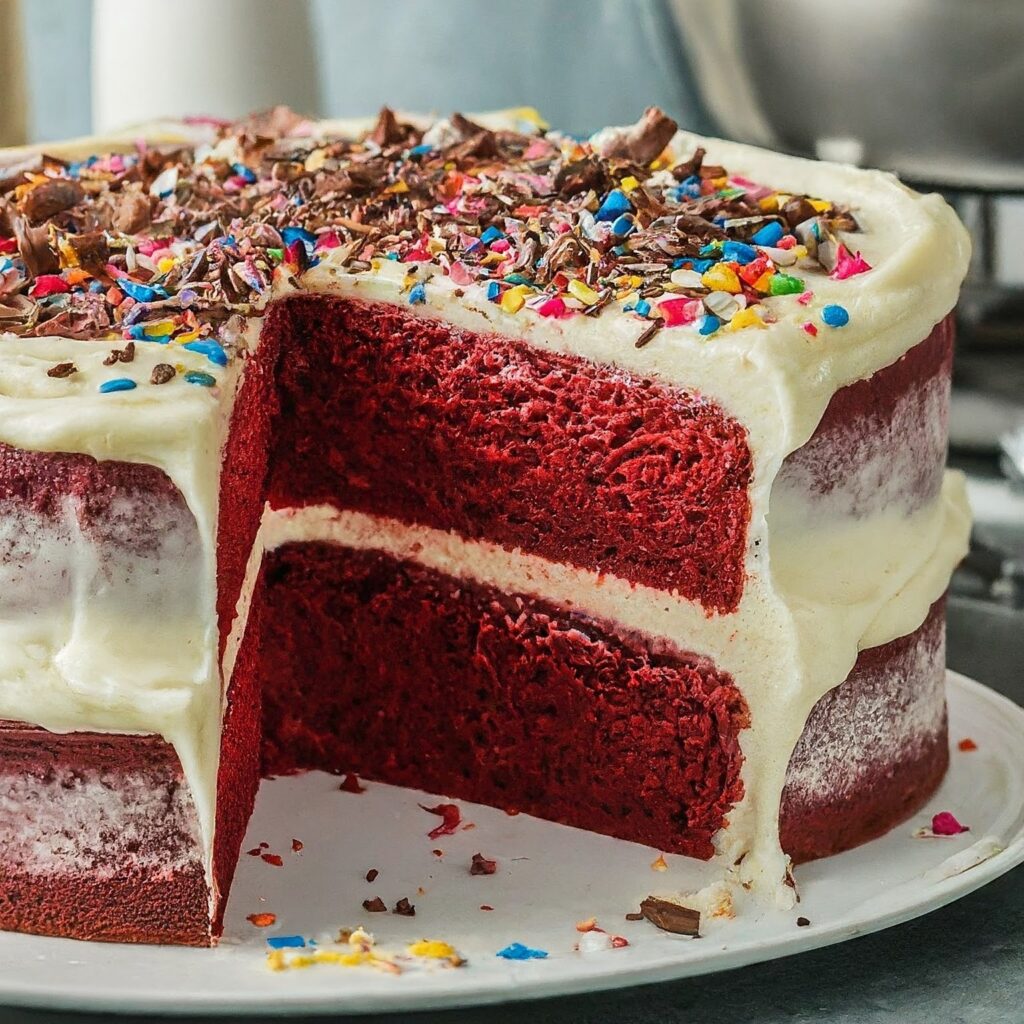
Decorating Your Red Velvet Cake
- Simple Elegance: A smooth layer of frosting with a sprinkle of red velvet cake crumbs around the edge offers a classic look.
- Piped Designs: Use a piping bag with a star tip to create rosettes, swirls, or other patterns.
- Edible Flowers: Decorate with edible flowers for a natural, elegant touch.
- Themed Decorations: For special occasions, consider themed toppers or edible glitter for a festive look.
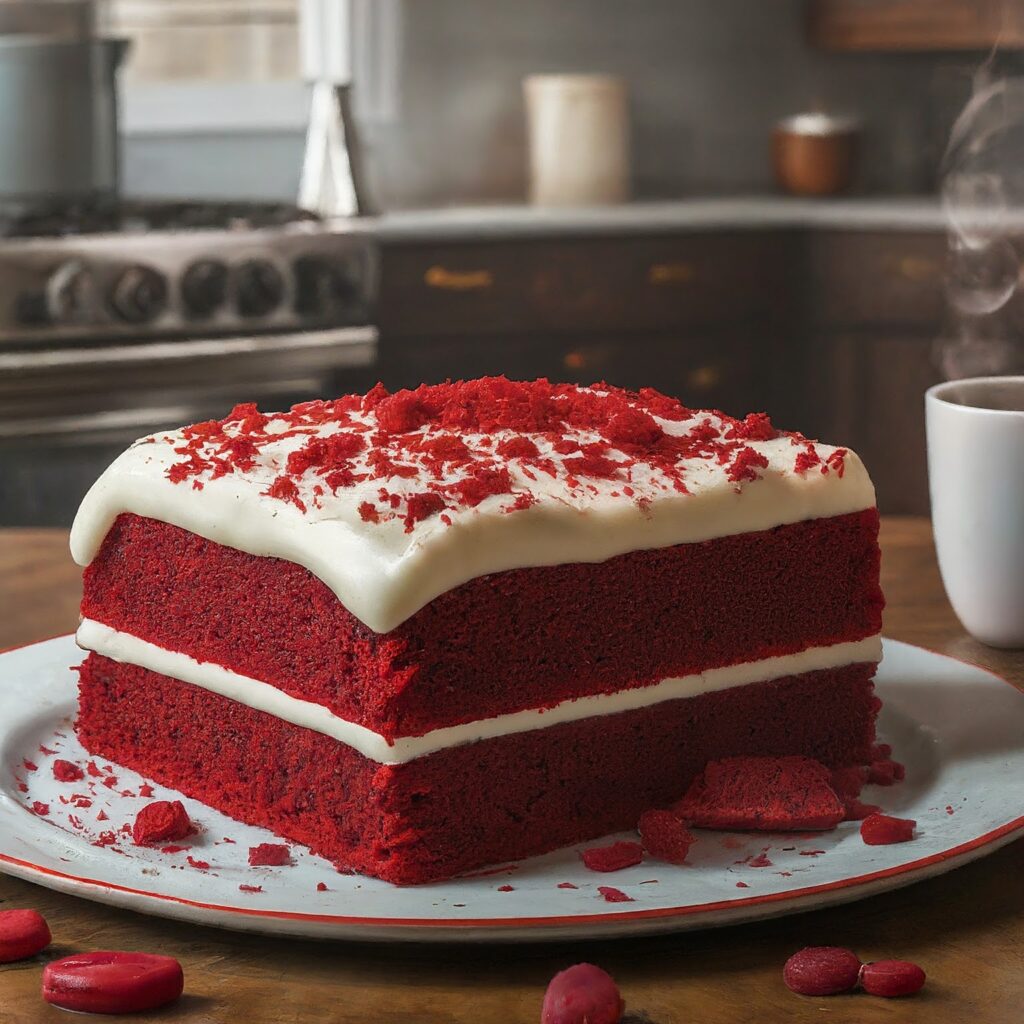
Serving and Storage Tips
- Serving: Let the cake come to room temperature for about 30 minutes before serving for the best flavor and texture.
- Storage: Store the cake in an airtight container in the fridge for up to 5 days. For longer storage, freeze individual slices on a baking sheet before transferring to a freezer bag, allowing you to enjoy the cake for up to 3 months.
- Reviving Chilled Cake: If refrigerated, briefly microwave a slice for 10-15 seconds to revive the cake’s tender texture.

Nutritional Information
For those who meticulously monitor their dietary intake, gaining insight into the nutritional content of a homemade red velvet cake is crucial. Typically, a slice of this indulgent dessert, when adorned with a classic cream cheese frosting, encompasses approximately:
- Calories: A slice can deliver between 350 to 450 calories, making it a treat best enjoyed in moderation.
- Fat: The fat content ranges from 18 to 22 grams, with a mix of both saturated and unsaturated fats. This is a significant consideration for those watching their fat intake.
- Carbohydrates: Each slice contains about 40 to 50 grams of carbohydrates, primarily sourced from sugar and flour. For individuals managing their carbohydrate consumption, this is an important factor.
- Protein: Offering 5 to 6 grams of protein, this cake provides a modest contribution to daily protein requirements.
- Fiber: With only 1 to 2 grams of fiber, red velvet cake is not a significant source of dietary fiber.
- Sodium: The sodium content can vary, but it generally falls within the range of 300 to 400 mg per slice, largely due to the baking soda and salt used in the recipe.
Given these figures, it’s evident that red velvet cake is a decadent choice. Consequently, for those adhering to specific dietary guidelines or managing conditions such as diabetes or heart disease, it’s essential to consider these nutritional details. Enjoying a slice of red velvet cake as an occasional indulgence, rather than a regular part of one’s diet, can be a wise approach to balancing pleasure with health.
Customizing Your Red Velvet Cake
Making your red velvet cake unique is a delightful way to cater to personal tastes or dietary restrictions. Here are a few suggestions:
- Gluten-Free: Substitute the regular flour with a gluten-free blend to make it celiac-friendly.
- Vegan: Use plant-based milk, vegan butter, and egg substitutes like flaxseed or chia seeds mixed with water.
- Reduced Sugar: Cut down on the sugar or use alternatives like stevia or erythritol for a less sweet version.
- Color Variations: Natural dyes, such as beet juice, can offer a healthier alternative to artificial food coloring.
Pairing with Beverages
The rich flavors of red velvet cake pair wonderfully with various beverages:
- Coffee: A strong espresso or a creamy latte complements the cake’s sweetness and cocoa hints.
- Milk: A classic pairing, cold milk balances the cake’s richness.
- Wine: A sweet red wine or a dessert wine like Port can enhance the cake’s flavors.
- Tea: Black tea or a floral herbal tea offers a refreshing contrast to the cake’s sweetness.
Common Mistakes to Avoid
Avoid these common baking errors to ensure your red velvet cake is a success:
- Overmixing the Batter: This can lead to a dense, tough cake. Mix just until the ingredients are combined.
- Skipping the Vinegar: Vinegar reacts with baking soda to make the cake light and fluffy. Don’t omit it.
- Using the Wrong Red Dye: Some red food colorings can taste bitter. Use a high-quality, tasteless dye for the best results.
- Overbaking: Keep an eye on the baking time. Overbaked cake becomes dry.
FAQs on Homemade Red Velvet Cake Recipe
- What is the flavor of red velvet cake? Red velvet cake has a mild cocoa flavor, with a slight tang from buttermilk and vinegar, complemented by a sweet and creamy cream cheese frosting.
- Is a red velvet cake just a chocolate cake? No, it’s not just a chocolate cake. It has a unique flavor profile and texture, distinguished by the addition of buttermilk, vinegar, and a small amount of cocoa powder.
- What is the big deal about red velvet cake? Its unique flavor, striking appearance, and luxurious texture make it a popular choice for special occasions and celebrations.
- Why is red velvet cake so expensive? The cost comes from the quality of ingredients, including real butter, cream cheese, and the quantity of red food coloring needed to achieve its signature hue.
Conclusion: Mastering the Art of Red Velvet Cake
Baking a homemade red velvet cake is an art that marries flavor, texture, and aesthetics. With patience and practice, you can create a cake that not only looks stunning but also tastes divine. Whether you stick to the traditional recipe or customize it to your liking, red velvet cake remains a timeless dessert that brings joy and indulgence to any occasion.